Fifty Shades of Linen.
For two years, we have been asking - no, begging - our friends at Prism to dye linen. See, we're kind of into linen at Loops. Actually, we're quite fanatical about it. We love that we can machine wash it, and it just keeps getting softer. We love the drape. And most of all, we love the way we can knit with it by the swimming pool, and it still feels cool, even when it's hotter outside than two rats making love in a wool sock.
We're also fanatical about Prism. The way Laura from Prism combines colors - well, there's nothing else like it in the wide, wide world.
But dyeing linen is tricky. If you don't know what you're doing, the colors can go all muddy on you. And Laura was doing just great, thank you, dyeing everything else from merino to cashmere to fur.
Finally, though, we wore her down. Or maybe her creativity and curiosity just got the best of her. Whatever it was, we're so very, very glad that she decided to do this:


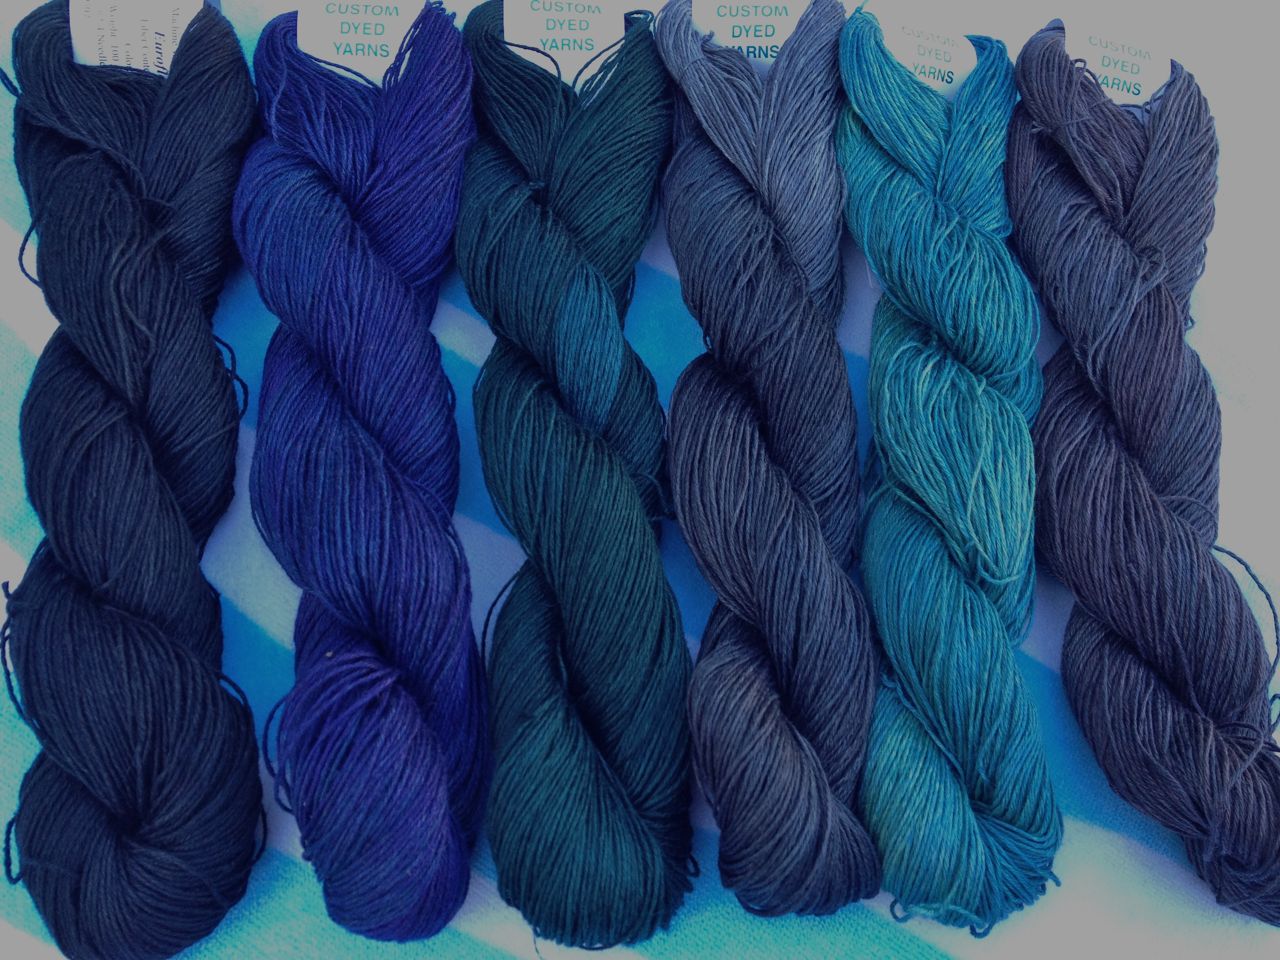
Presenting Prism Euroflax Linen, custom dyed 100% linen that is machine washable! Colors as shown above, top photo left to right: Ebony, Sapphire, Mallard, Shadow, Agean, Shale.
Middle photo: Sagebrush, Highlands (my model color), Avocado, Orchard, Tapestry.
Bottom photo: Embers, Hibiscus, Plumberry, Cabernet.
A development of this magnitude called for a very special pattern. Something easy, something on-trend, something everyone can make and wear. Something...wait for it...free.
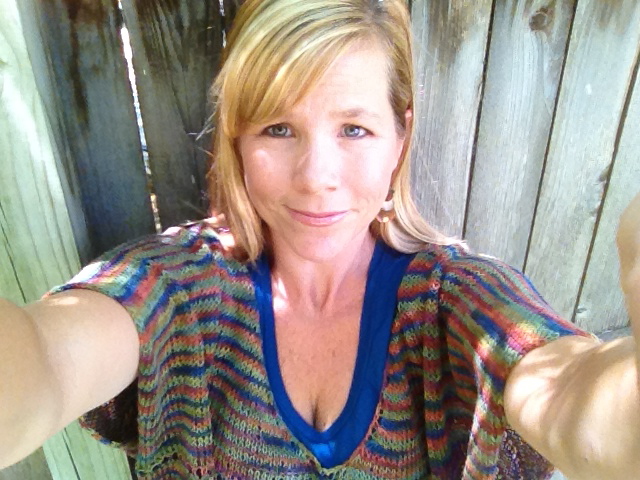
And so without further ado, I present Fifty Shades of Linen. A sexy, swingy, wear-with-anything top, named in honor of the books that have - gasp - taken the western hemisphere by storm. And also in honor of what seems like 50 shades of color in every single skein of this luscious, saturated, no-holds-barred linen. If you've read the Fifty Shades series, you'll know what I mean when I say, "Oh my!"


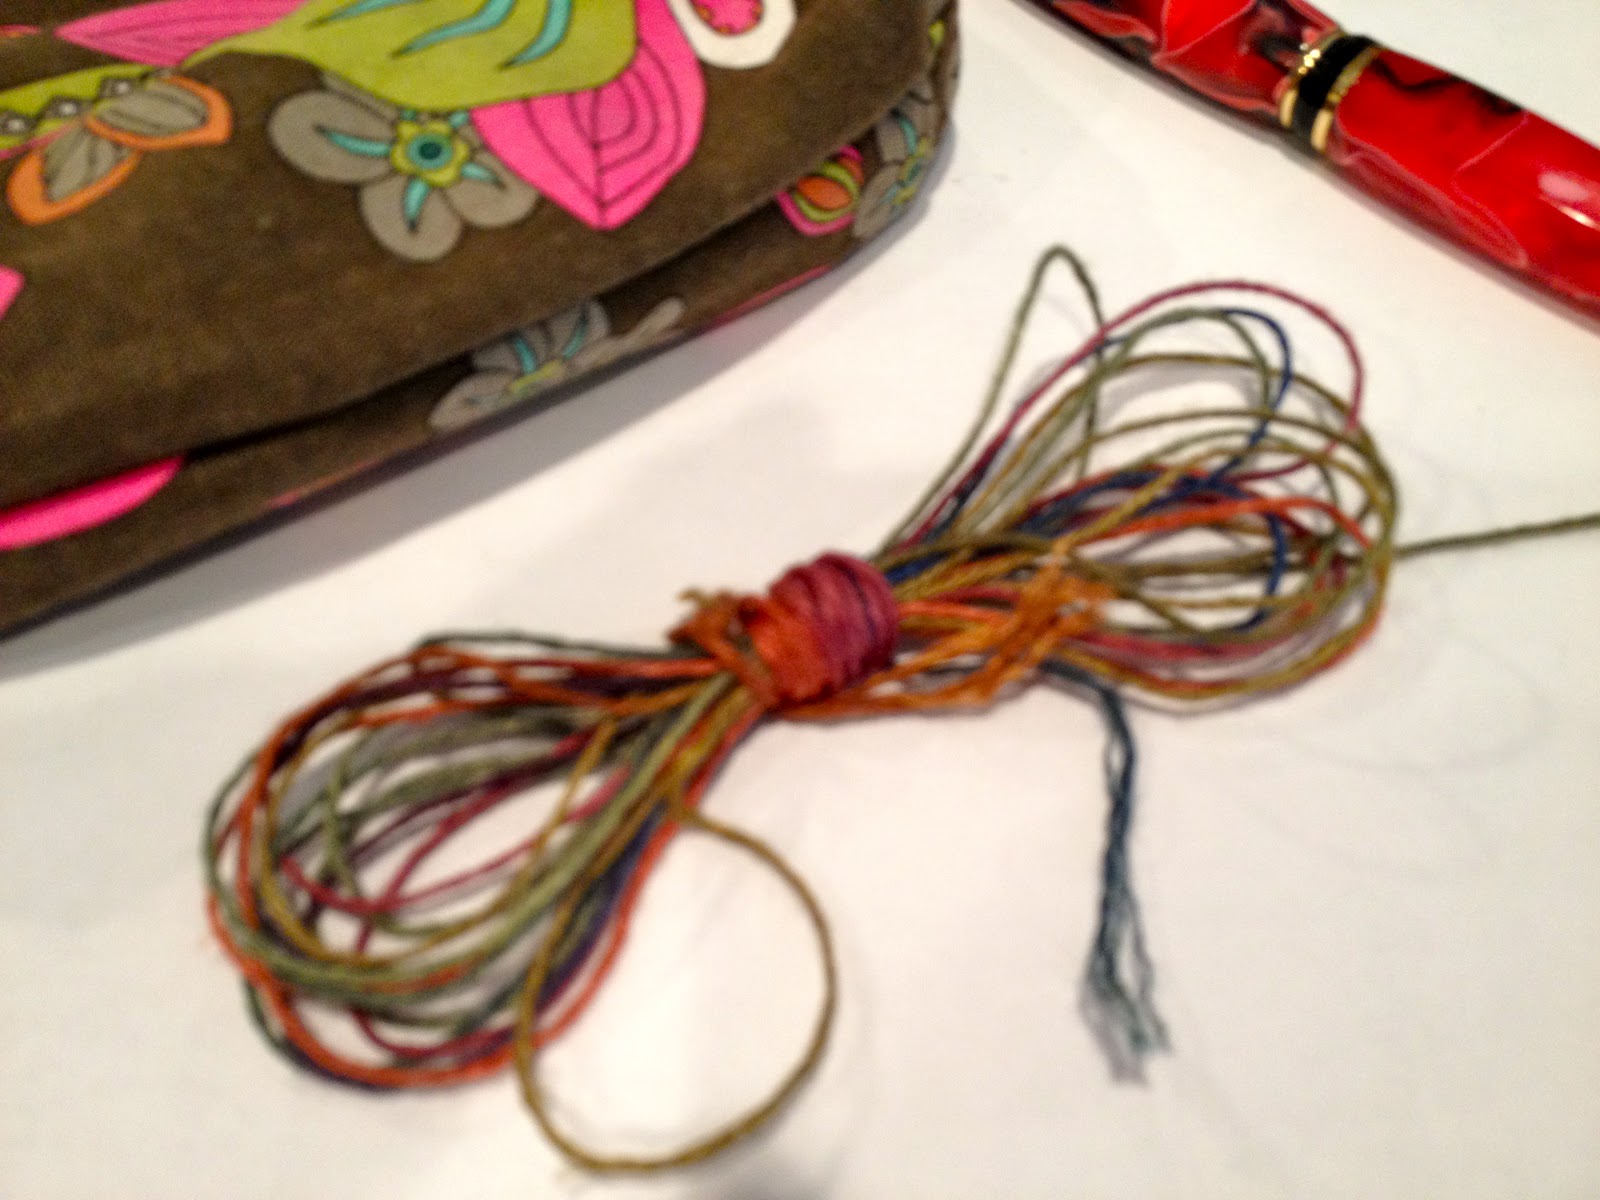
Note: I really came down to the wire on my 3 skeins. This is all I had left:

If you're unsure, get 4 skeins and make Gina's Biased Cowl with the extra skein. Awesome gift!
And one warning: When you make this, people will want to borrow it. And it will be hard to get it back.

Just sayin'.
Laters, baby!
- Shelley
shop online at loopsknitting.com
We're also fanatical about Prism. The way Laura from Prism combines colors - well, there's nothing else like it in the wide, wide world.
But dyeing linen is tricky. If you don't know what you're doing, the colors can go all muddy on you. And Laura was doing just great, thank you, dyeing everything else from merino to cashmere to fur.
Finally, though, we wore her down. Or maybe her creativity and curiosity just got the best of her. Whatever it was, we're so very, very glad that she decided to do this:


Presenting Prism Euroflax Linen, custom dyed 100% linen that is machine washable! Colors as shown above, top photo left to right: Ebony, Sapphire, Mallard, Shadow, Agean, Shale.
Middle photo: Sagebrush, Highlands (my model color), Avocado, Orchard, Tapestry.
Bottom photo: Embers, Hibiscus, Plumberry, Cabernet.
A development of this magnitude called for a very special pattern. Something easy, something on-trend, something everyone can make and wear. Something...wait for it...free.
And so without further ado, I present Fifty Shades of Linen. A sexy, swingy, wear-with-anything top, named in honor of the books that have - gasp - taken the western hemisphere by storm. And also in honor of what seems like 50 shades of color in every single skein of this luscious, saturated, no-holds-barred linen. If you've read the Fifty Shades series, you'll know what I mean when I say, "Oh my!"


Fifty Shades of LinenHere's a crude little schematic I drew. (Don't judge.)
Materials:
Prism Linen, 270 yards each skein, 3 skeins (warning: I barely had any left)
Size 7, 32-40" circular needle, or size needed to obtain gauge of 4 sts and 6 rows to 1 inch in stockinette
Size F crochet hook
Directions, Front:
Cast on 140 sts.
Work 6 rows in garter stitch (knit 6 rows).
***
14-row repeat:
Next row (RS): beginning with a knit row, work 11 rows stockinette.
Next row (WS): knit all sts.
Next row: K1 *k2tog, YO* repeat from * to last st, K1
Next row (WS): knit all sts.
Repeat the last 14 rows (from ***) 5 more times, ending with a WS row. Work should measure 12" from beginning. If not, continue 14-row pattern until you reach 12".
Begin v-neck:
Next row (RS): Knit 70 sts, PM, work 70 remaining sts.
Next row (WS): purl all sts.
Next row (RS): work to 2 sts before marker, k2tog, sm, attach 2nd ball of yarn and SSK, work to end of row.
Repeat last 2 rows 20X (40 sts decreased). Continue working straight for 8 more rows, ending with a WS row. Work should measure 20".
Begin back of sweater:
Next row, knit across first section, cast on 40 sts using backward loop method, knit across second section (140 sts). Work in stockinette for 8".
Now, switch to 14-row repeat (working from *** above and creating eyelet ridges) until piece measures 39".
Knit 6 rows (garter) and bind off loosely.
Steam block the entire piece, taking care not to press too hard on the eyelet ridges to maintain texture.
Fold sweater in half at the top of the V-neck so it has a front and a back. Using stitch markers, mark for side seams at 4" from hem and at 12" from hem. Now, sew an 8" seam between the two markers, leaving your piece unseamed at the bottom 4" (your "vents") and at the armholes.
Using F hook and starting at the middle of the back neck, work one row of single crochet down the V neck and back up to the middle of the back neck. I skipped every 4th stitch in order to close the V slightly.
Note: I really came down to the wire on my 3 skeins. This is all I had left:
If you're unsure, get 4 skeins and make Gina's Biased Cowl with the extra skein. Awesome gift!
And one warning: When you make this, people will want to borrow it. And it will be hard to get it back.

Just sayin'.
Laters, baby!
- Shelley
shop online at loopsknitting.com
posted by Shelley Brander at
9:38 PM
![]()

9 Comments:
Can you translate this to crochet? Just a similar translation.. doesn't need to be exact or anything..
What does the abbreviation PM mean?
PM means "Place Marker" in this case.
It means "Place Marker" in this case.
I'm confused on the v neck part. Is each side worked separately? Do I need to transfer half of the stitches to a stitch holder?
I'm confused at the v neck part. Is it worked in two pieces? Do I need to transfer half of the stitches to a stitch holder?
Love it. But is the pattern a "one size fits all"? The models look on the small size and I'm a size 14 so any information on sizing?
Is this a "one size fits all"? The models look small and I'm a size 14. Any suggestions for sizing?
For the vneck section you're working both sides, with 2 balls attached, one to each side of the v. So you work halfway across with one ball, then switch to the other ball to do each row. Alternatively you could work each half at a time using a stitch holder.
This is a very generous one size fits all piece. I have seen it worn beautifully on very curvy women. If you are super busty, you might consider adding done length, but the width should be fine.
Post a Comment
Subscribe to Post Comments [Atom]
<< Home